
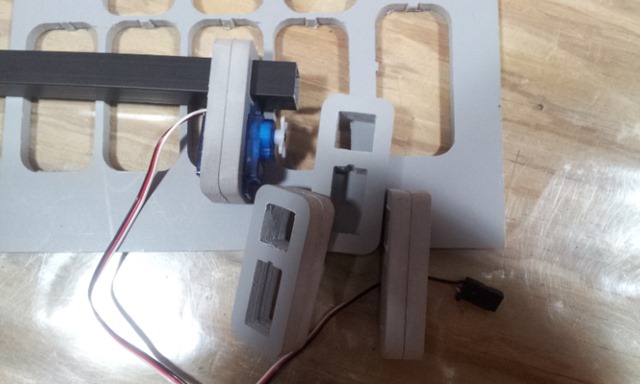
Probotix X90 CNC – Cutting Servo Mounts in Sintra PVC Foam Board
This is the first cut of my Probotix X90 CNC. Absolutely amazing! I am using the EMC2 Linux CNC installed on an old computer installed using their Live/Bootable …
This is the first cut of my Probotix X90 CNC. Absolutely amazing! I am using the EMC2 Linux CNC installed on an old computer installed using their Live/Bootable …
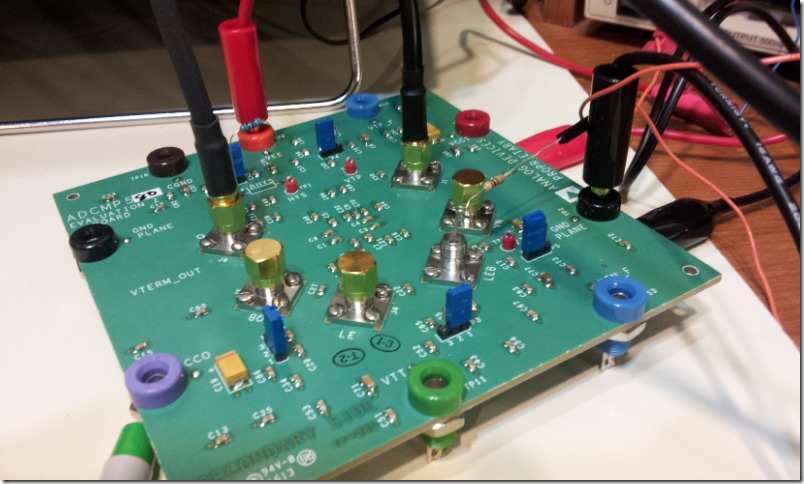
Motivation If you purchase a new or used scope you will probably need a way to test its advertised bandwidth. One way to test the bandwidth of the scope is …
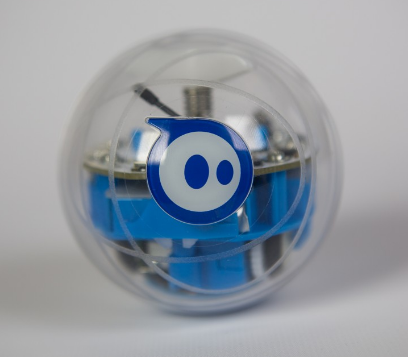
I recently got my first Sphero and I have to admit as with any new product I was skeptical in the beginning. However just after few minutes of playing with …
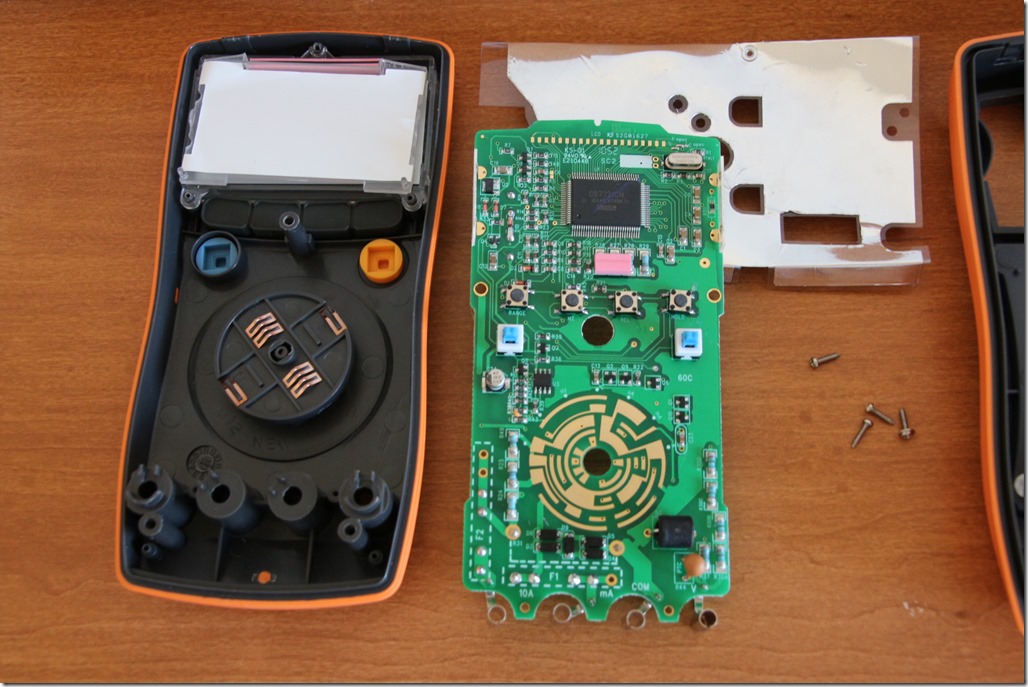
When it comes to test equipment a hobbyist is often asking himself – should I invest in top of the line equipment or can I compromise and go with a …
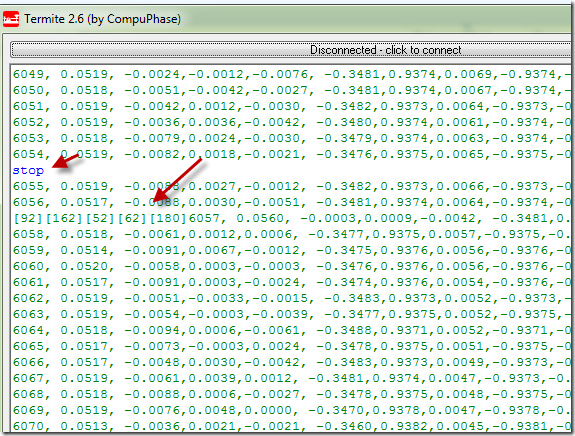
Ah, the joy of firmware debugging! I’ve been working on a USB firmware for my new upcoming product that involves a dual traditional TTL (Serial) and a USB-TO-SERIAL converter (CDC …
If you're into electronics sooner or later you will need to desolder something. Also, if you don't have the proper tools or skills you'll damage a component or two or …
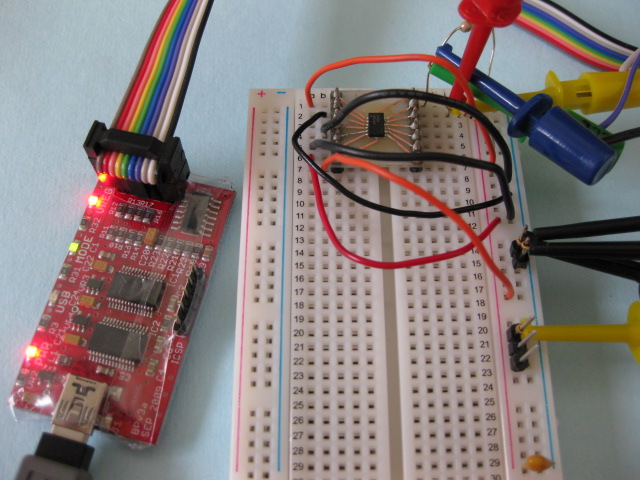
Bus Pirate is a great tool for exploring new chips using your PC , without the need to integrate the chip into a MCU project. Once I received my unit, i decided to put it to the test by exploring an accelerometer with I2C/SPI interface – the MMA7456L from Freescale. I am writing this in hope that it will help other people get started with BusPirate and I2C protocol in particular. I will only describe the I2C interface in this article but BusPirate is capable of so much more !
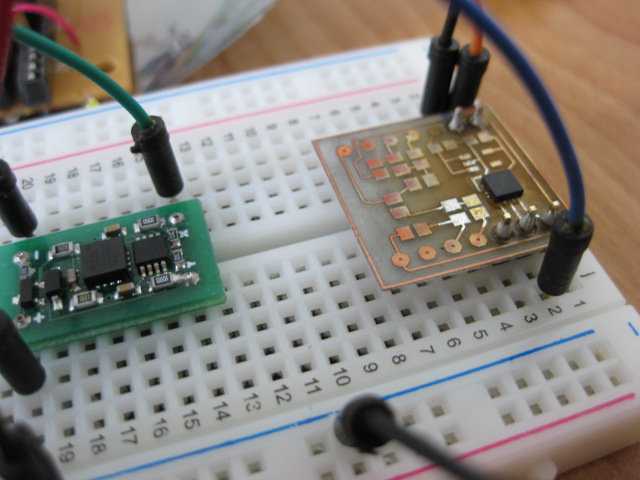
In this article I am testing another accelerometer from ST – LIS331AL. I am also touching the topic of filters and vibration response.
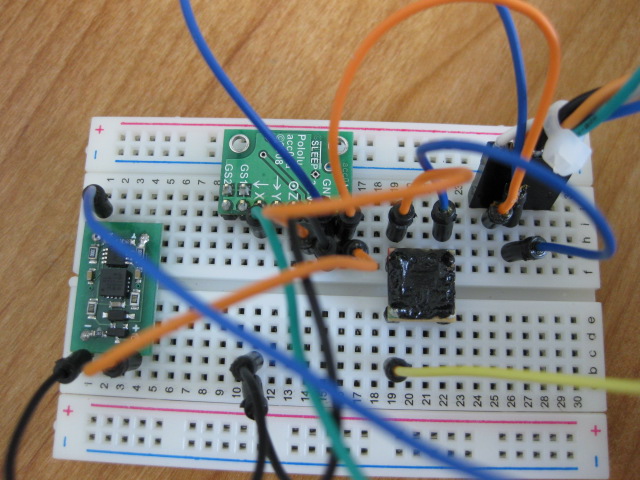
This article is the first in a series of reviews of MEMS devices (gyroscopes, accelerometers). I start by testing 3 accelerometers side by side and testing their performance: Dimension Engineering DE-ACCM2G (ADXL322), LIS244AL, Pololu MMA7260QT.